Introduction
After buying the bike, I started out customizing things, in order to get everything just right. After completing a few of these modifications, it dawned on me that I would be well served if I created a blog post that shows the before & after pictures, along with some information about each of the add-ons and modifications.
It’s a great idea to capture these before and after pictures, but I can’t say that I’ve done it faithfully throughout the process. In particular, for the first traunch of add-ons, I’ve only captured the result, not the before. I apologize for missing this opportunity, but I’m not about to un-modify the bike, just to take pictures, so I’ll do my best in this article to address this problem.
The add-ons
Kickstand Enlarger
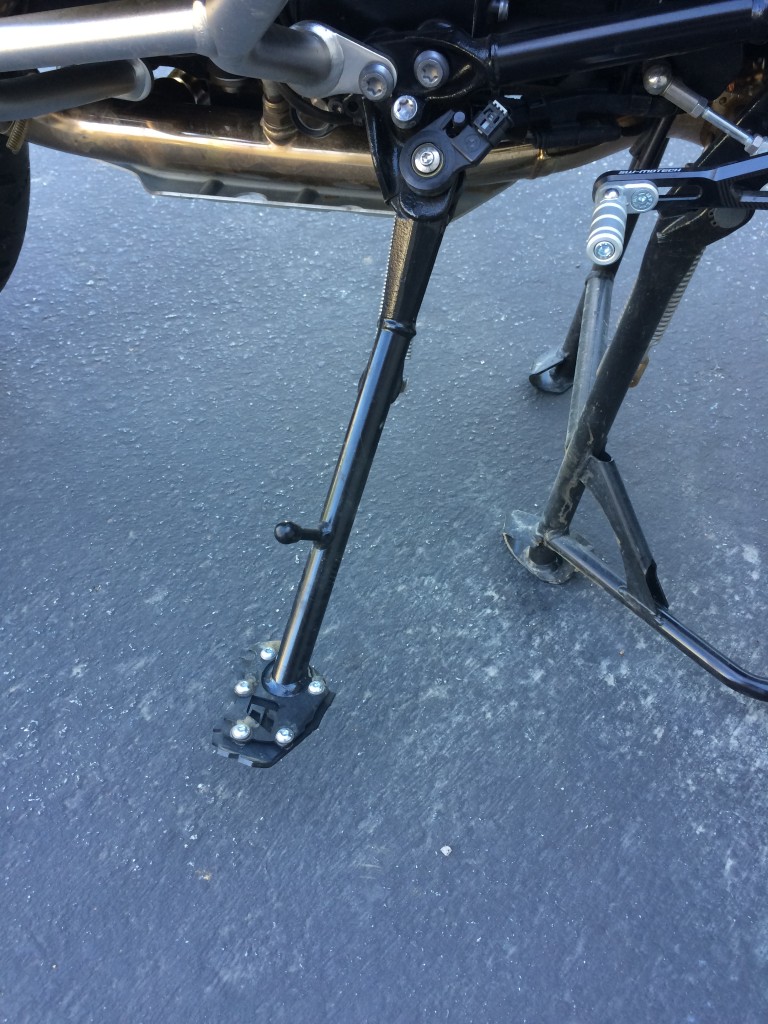
I purchased this kickstand enlarger because no self-respecting Adventure bike should have a small, totally inadequate kickstand, such as those they are most often delivered with. That said, I purchased the Alt-Rider enlarger from Adventure Designs in Hayward. As you can see in the picture, the footprint is significantly larger than the stock footprint, and it was very easy to install.
Master Brake Cylinder protection
You might think that a $22K motorcycle, which goes under the genre of Adventure Bike would come from the factory, ready for adventures. Well, I guess to some folks, this bike is ready for the world of adventure, but not for me. In my opinion, it is very likely that during an adventure, I’ll either drop the bike, or I’ll have to deal with rocks and stones that are kicked up by my bike, or by other bikes as I’m following them.
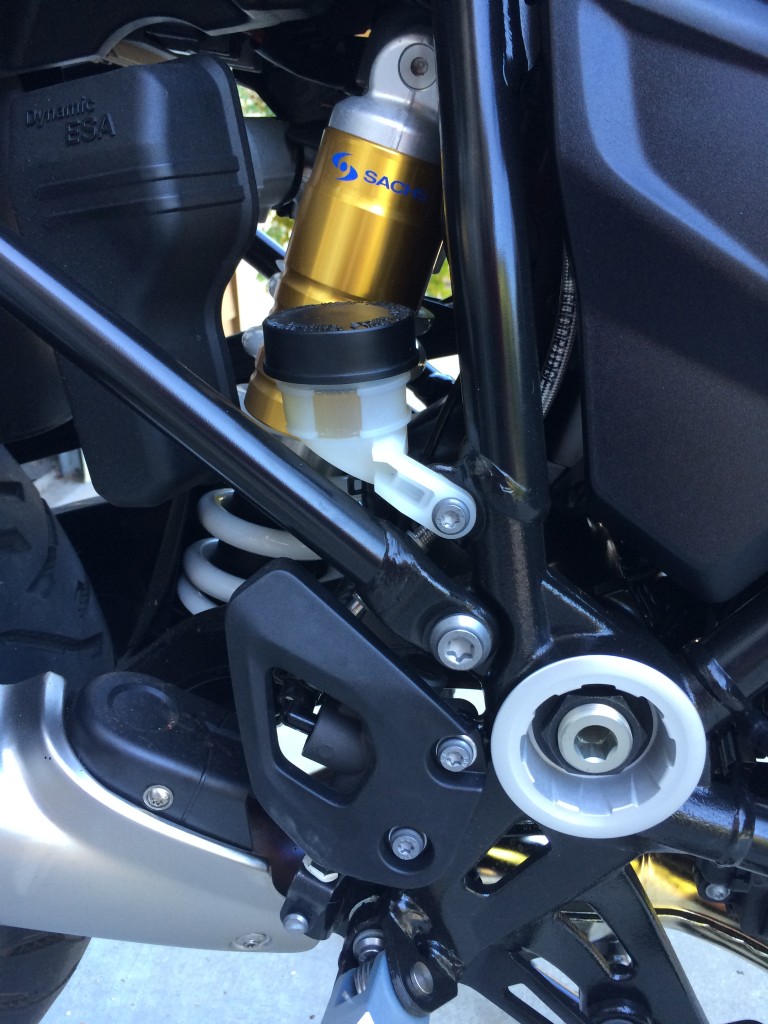
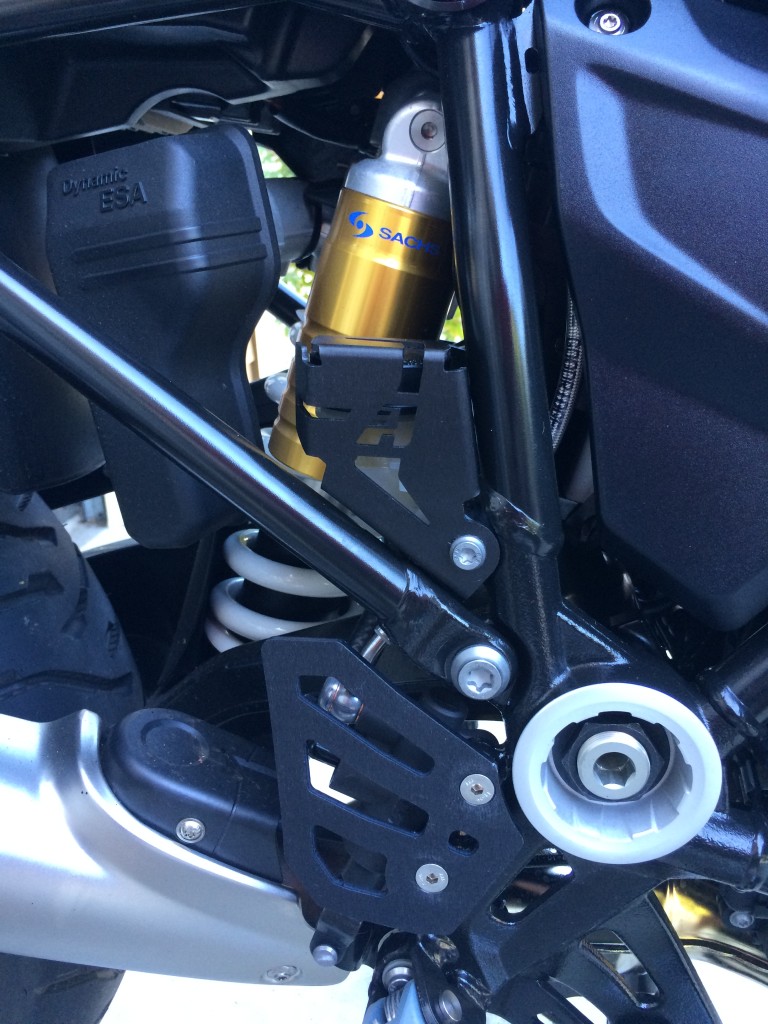
In either case, there are a few parts on the bike which need to be taken care of, and the two in particular that are shown below are in the braking system. These are very simple add-ons, and they are not too expensive, but by adding them to the bike, I get a feeling of confidence and comfort, knowing that I’m less likely to be stranded without brakes while on the trail.
Notice that prior to installing these parts, there was very limited protection for these critical brake parts. Given that the bike will probably fall over at some point, it made sense to get these things properly protected.
Headlight Protection
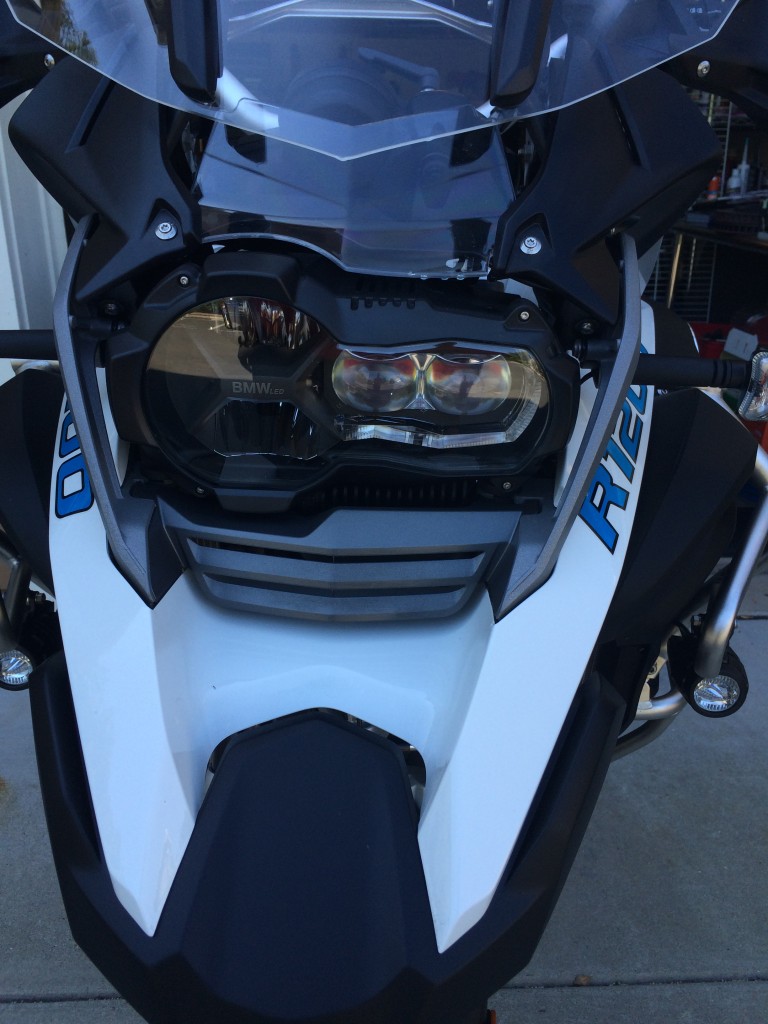
Take notice of how the bike, delivered from the factory seems to dare the world to throw a rock at the headlight. It seems to me that it’s only a matter of time until the World obliges, and tosses a stone at that clear piece of glass. Not to mention that I’ve heard that these headlights are immediately in need of replacement when the glass is cracked, and they are very expensive.
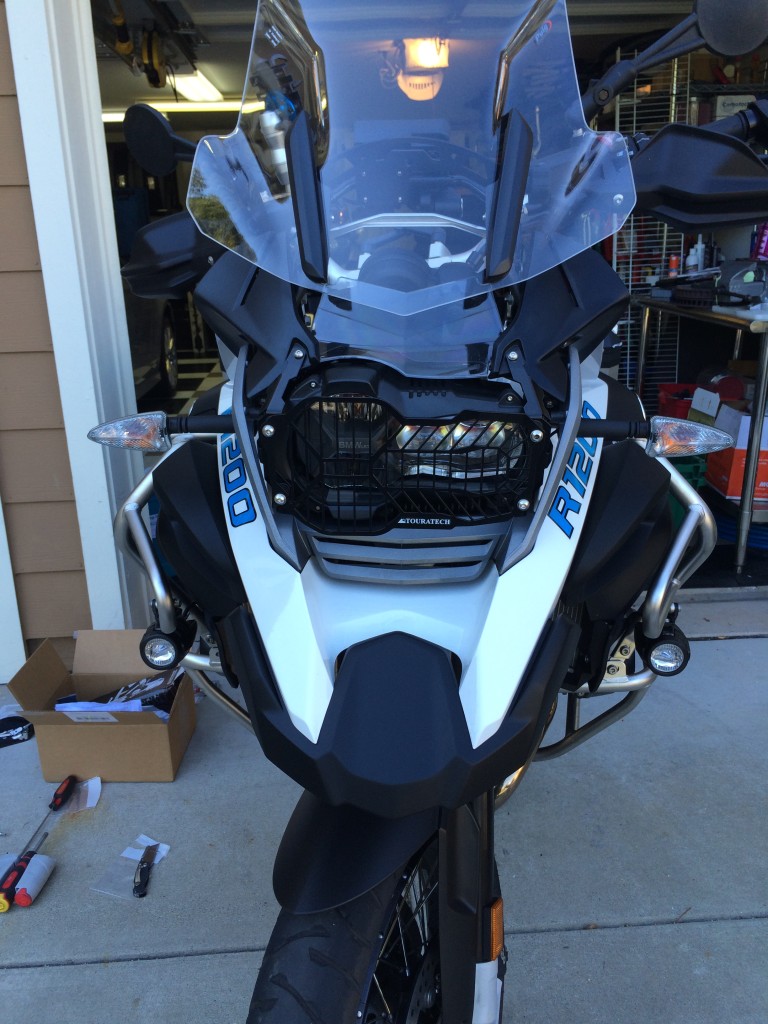 The headlight protection ,see in this photo was delivered by Touratech. Like all Touratech items, they cost a little bit more, but there were a few features on this guard that I really liked. In particular, I liked the fact that the guard could easily be removed, in order to clean the headlight. This means that the guard, and the mount for the guard are, in essence, separate pieces, so the system is easier to manage in the event that you have a crash.
Cell Phone mount
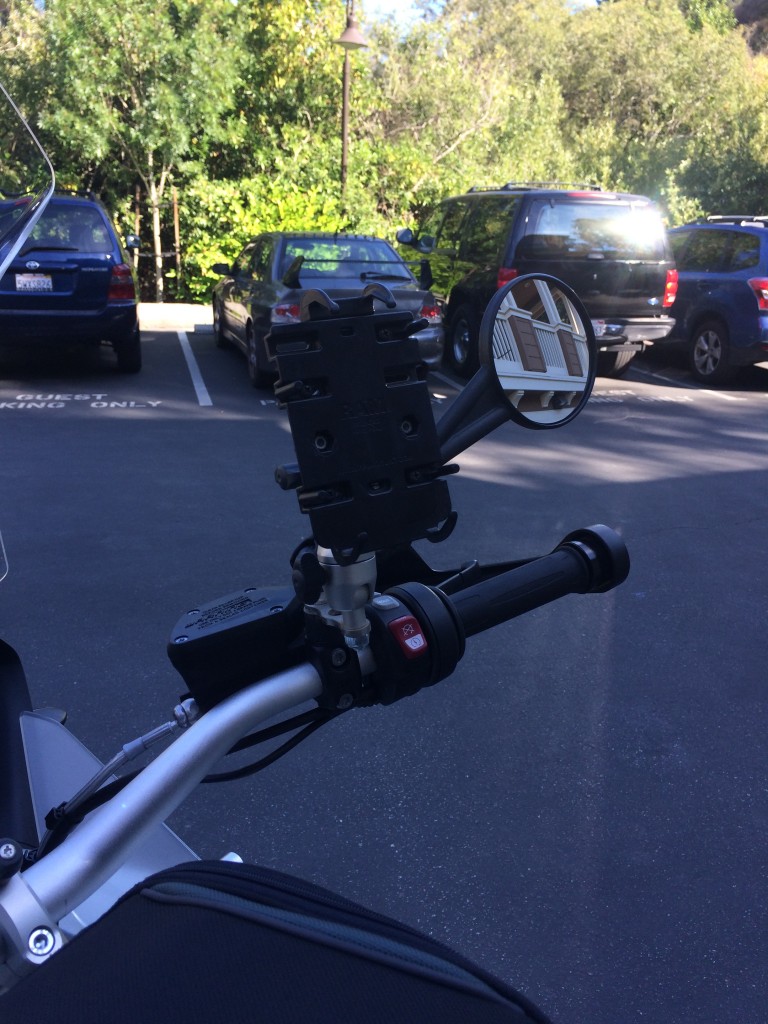
The cellphone mount is a combination of a RAM mount for the phone, coupled to the Wunderlich Multi-Pod. The two make a nice combination of functionality and aesthetics. The Multi-Pod is a really nice piece, but it’s expensive, and mounting it can be a bit of a trick.
Front windscreen
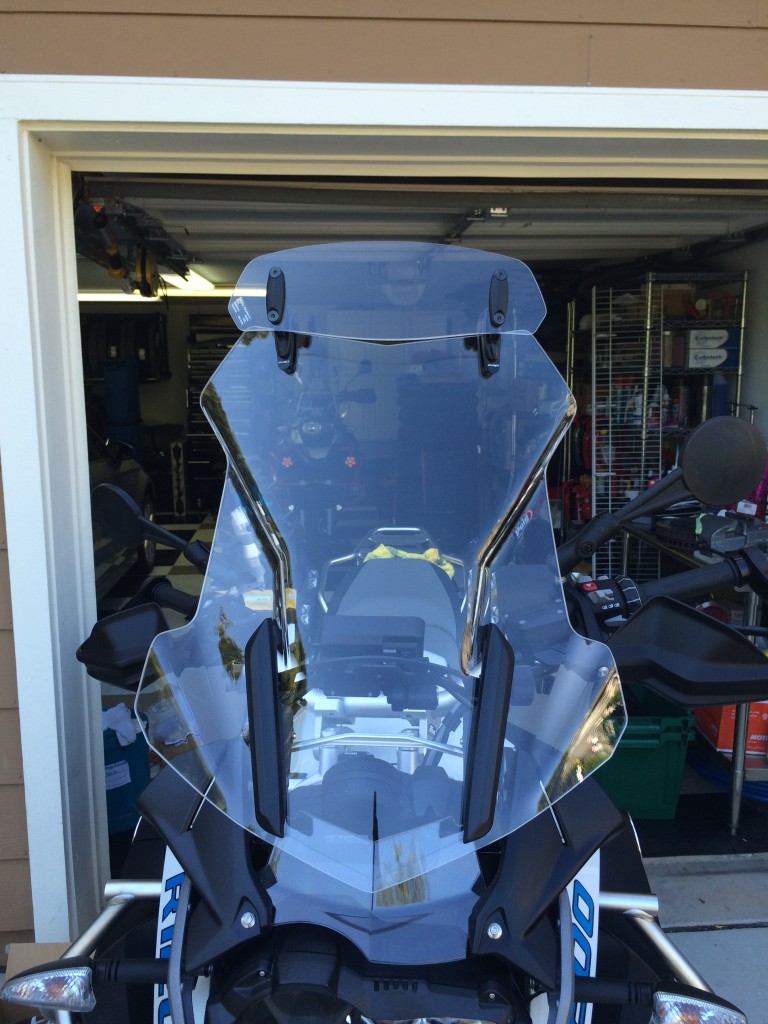
The windscreen was replaced because at my height (6’5″), it was common to get a good amount of buffeting from the wind, and if you’re going to have a windshield, it makes sense that it actually work, and that it actually deflects the wind. So, once again, at Adventure Designs I made the purchase. In this case I chose the Puig windscreen, as it has a great deal of structural integrity, and a nice look.
I’m not a fan of simple windshields that are mostly rounded, rather than having ridges and bends to improve structural integrity. So, the PUIG windscreen it is. The PUIG also offers an additional windscreen extender, which I also installed. This extender allows me to take advantage of another 2″ of wind deflection, which I’ll use, if I’ll be riding on the highway for longer periods of time.
The combination of these two pieces looks like this…
Front windscreen strengthening
Once you go out and install a bigger windscreen, you’re eager to get on the bike and ride it to see how everything turned out, and whether the wind buffeting problem has been resolved. Well, it turns out that I was able to resolve the problem, but after doing so, I was seeing the windscreen flex a little bit on the RH side, when riding in heavy wind. So, after talking to a few friends, I found a windscreen strengthening device at Wunderlich.
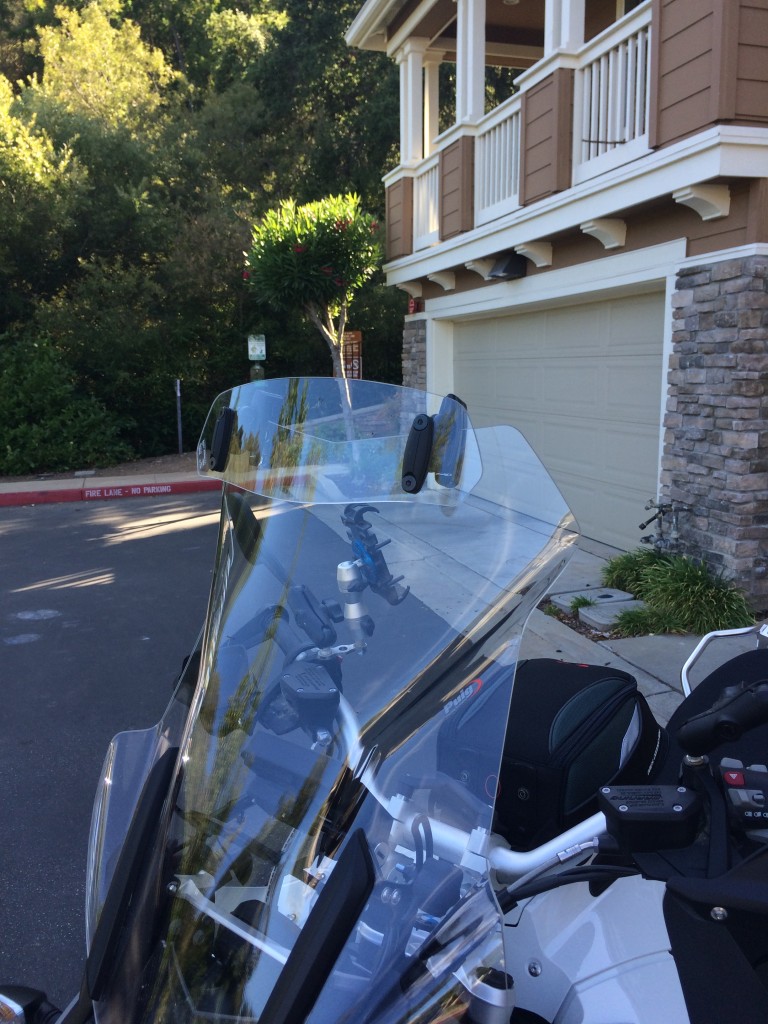
The strengthening device is actually two separate pieces which both must be installed, and which create a separate way to lock the windscreen in place, and prevent it from moving or undulating, even in high wind. The result looks like this…
Note that it can be somewhat difficult to see, but if you look through the windscreen behind the LH Handlebar, you’ll see a new knob, which attaches to a brace, which attaches to the inside of the windscreen at the two points where the windscreen attaches to the bike itself.
Enduro Seat
Once again, my height is a bit of a problem, and if the bike is going to fit me well, I’m going to need to spend the money to be sure that I’ve solved for, and addressed each of the potential issues. In this case, when I sit on the bike and ride for any length of time, I sometimes want to relax a bit, which might mean moving my but back about 2 inches from the detente position. With a standard 2-piece seat, you’re not able to do this as the seat is actually like a cup, into which you sit.
The Enduro seat by Touratech is a high-tech seat, with a special rain-proof outer layer, a 3/8″ inner layer for breathability, and numerous layers of foam and gel. The end result is a set that is expense, but it’s comfortable, and it solves the problems.
Comments