Introduction
These adventure bikes come from the factory looking pretty spectacular, but they don’t have the aggressive edge that I was looking for. I wanted my bike to look more Dakar, and less Corporate. So, I set out to find the best way to convert the bike to be a Dakar Poser…
Finding the wrap
It is common sense, but before you can install a vinyl wrap, you have to either have a lot of vinyl, or you have to have a wrap. Creating complex wraps from scratch sounds like a fun, but very time consuming task, and it’s a task that I’m just not setup for. So, I decided to purchase a wrap.
I searched the Internet, and found a few different options, but in the end, I selected a wrap from SignatureCD, located in Cyprus. I looked at all of the options, short-listed two of them, and made the decision on one of the wraps. Incidentally, Signature Custom Designs offers at least 4 different wraps, in a variety of color schemes for the new GS LC. Two of the wraps are very sharp-edged, and geometric, while two of them were more like free-form art.
With my decision made, I ordered the wrap just two days after buying the bike, but unfortunately I had to wait almost 4 weeks to receive the wrap in the mail. Apparently, the global post is not that efficient, when the item being sent has to travel all the way from Cyprus.
Preparing for installation
The SignatureCD website has a number of videos that show you how to install the wrap, and how to prepare the surface to ensure that the wrap stays on for a long period of time. Preparation for installation of a wrap is quite simple. There are only two things to think about.
- Make sure that the surface is very clean. Using rubbing alchohol, clean the surface well
- During installation, you may have to remove some of the parts on your bike in order to have full access to the surfaces that you’ll be applying the vinyl to.
Some “Before” Pictures
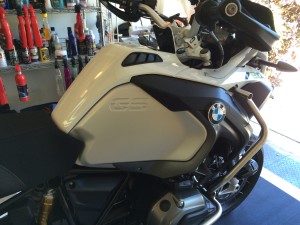
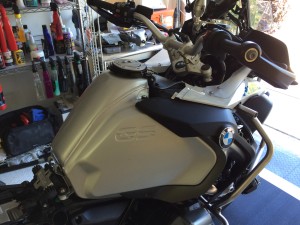
The pictures above show the fuel tank before and after the tank cowling was removed, in preparation for installing the graphics.
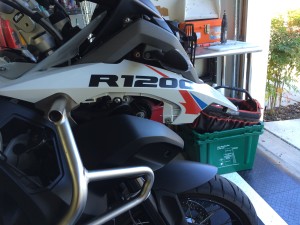
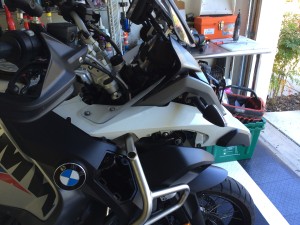 Notice that I’ve also had to remove parts from the fenders in preparation for the work to be done. The graphics for the fenders need to tuck in around and under the black portion of the fender that is shown in this picture. Notice also that I’ve removed the R1200 graphic that BMW installed at the factory. The original R1200 Graphic was blue, and it just did not look at all aggressive, although it has a nice overall aesthetic to it. Nevertheless, this graphic had to go, and some parts had to be removed.
The installation
I highly recommend that anyone attempting to install these graphics takes the time to watch all of the videos available on the SignatureCD website. Although Installing the graphics is relatively easy, it was made much easier because I watched an expert do it first.
Tank Graphics
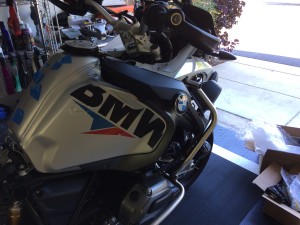
In order to install the graphics on the tank, you need to remove the plastic/bodywork on the top of the fuel tank. Looking at the picture below, you can see the tank graphics have been installed on the right side of the bike.
The toughest part of installation for the tank graphics was getting the vinyl to lay down properly into the indentations for the letters GS, which are stamped into the plastic tank covers. The installation videos show the novice that the right way to get the vinyl to lay into these indentations is to warm up the vinyl with a blow dryer, and then using a special tool, repeatedly press the vinyl into place, continually warming the vinyl in the process.
Notice that the graphics are installed, but the bike is not yet put back together.
Fender Graphics
In the picture above, as you look at the fender, it’s probably not obvious, but the toughest part of this portion of the installation was to line up the red triangle on the top, with the red swoosh below. Because of the crease in the fender, it’s a matter of following a straight line, and then correcting for the interpretations of the human eye.
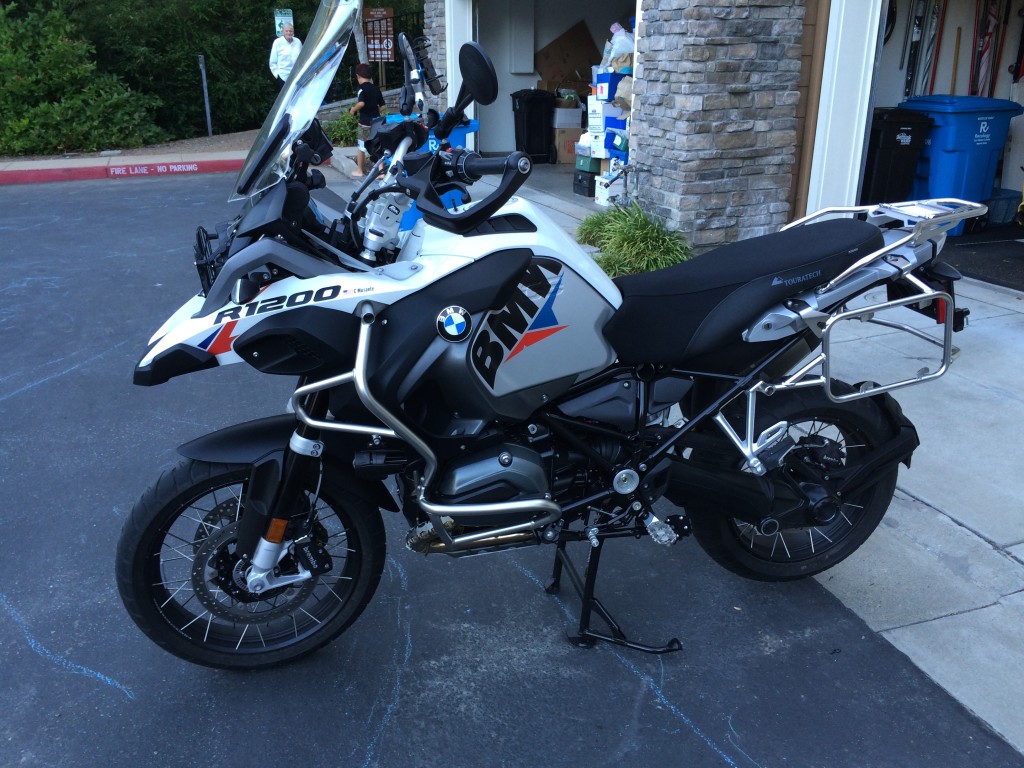
In any case, this is what the finished product looks like.


Mate,
I really like your seat, any details on where and at what cost I could get one?
Cheers,
Alex
Hey there,
The seat is a Sargent seat, with “piping” done in BMW colors. It was a no-brainer to replace the original BMW seat with an improved version, but after riding the bike 8300 miles across the US, I’ve decided that I really like the seat, and it’s quite comfortable. But, I did have a problem with the seat wearing prematurely on one of the sides. While at the MOA event in NY in 2016, I stopped at the Sargent booth and spoke to them. The entire team was great. They looked at my seat, and asked me to send it in for re-wrapping. I sent it in, they took care of the problem and sent it back in fine shape. It’s great to see a brand like Sargent take such good care of their customers. Kudos to them.
Lastly, this seat is purchased outright, so you don’t need to send your BMW seat to them so that the oringinal seat is recovered. Instead, they have molded a replacement carcass, and laid their padding on top of that. So, I’ve still got the original seat, as well as the new, replacement seat from Sargent.
Sargent also allows you to buy the front seat, the pillion seat or both.